TABLE OF CONTENTS
- Dashboard Pages
Dashboard Pages
6.1 Home
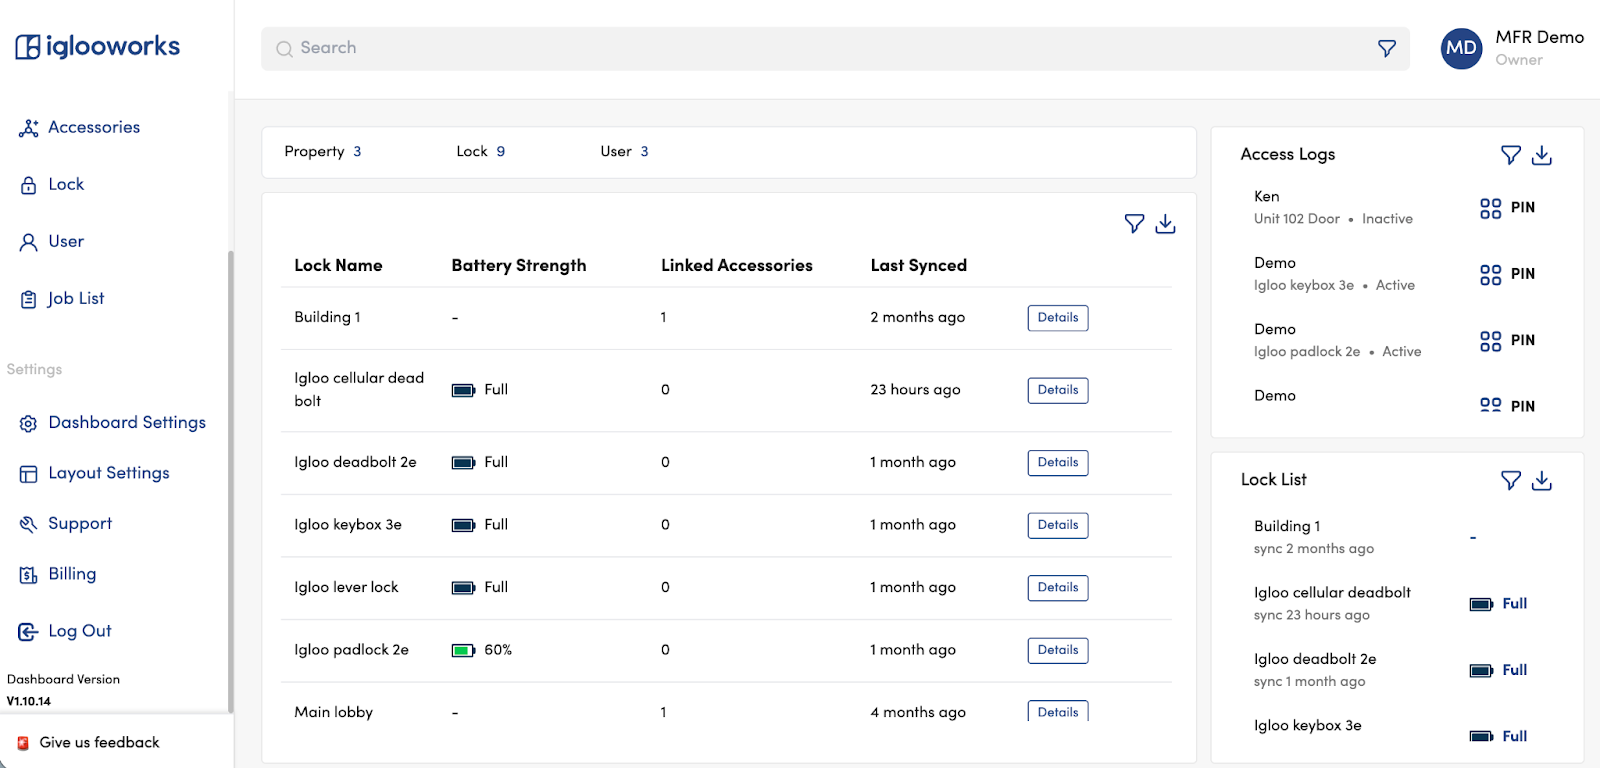
The Home page gives a quick overview of your organisation: total Properties, Locks, and Users at a glance. The main panel shows configurable widgets such as a Lock List summary and Access Logs.
- Customise which widgets appear and their layout via Settings > Layout Settings.
6.2 Departments
- Note: Not available for Flat Organisation accounts.
Departments let Owners and Admins control which properties each Manager can access within the organisation. Each department can have its own set of properties and members.
Add a Department
Go to Departments and click Add Department
Enter a unique department name
Search for and select the properties to assign, then click Next. Click Skip if no properties exist yet; you can add them later via Edit Department.
Search for and select the members (Managers) to assign, then click Save
- There is no limit to the number of properties or members per department.
- Owners and Admins are automatically added to all departments and cannot be removed.
- There is a maximum of 20 departments per organisation.
Edit a Department
Click View Department on the department list
Click Edit Department
Update the name, members, or properties as needed, then click Save
Delete a Department
A department can only be deleted if it meets one of these conditions:
Has no properties
Has properties, but none of the properties have locks
Has locks, but no active PINs on those locks
Has locks with active Bluetooth keys, but no active PINs
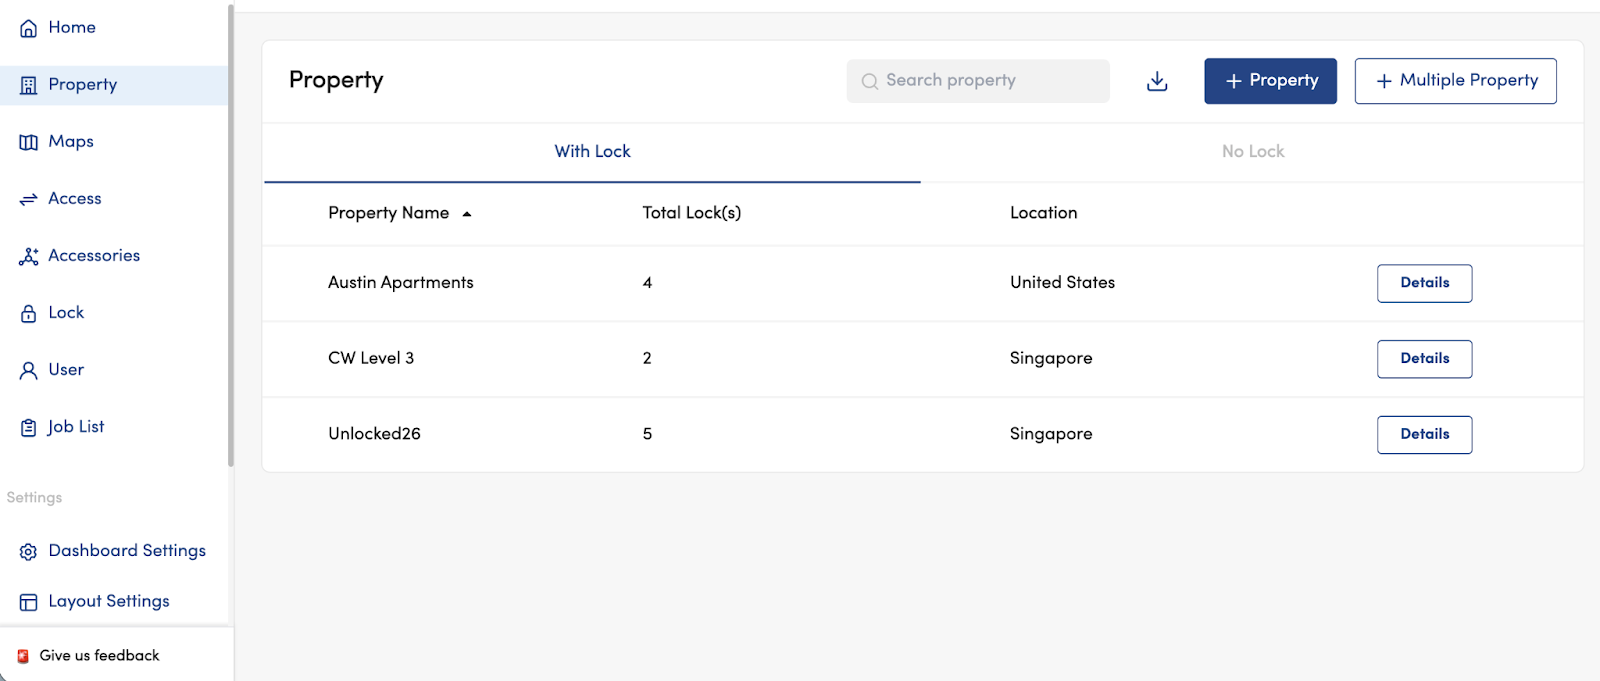
6.3 Properties
Properties group your locks and set the timezone used when a lock is first paired. Before pairing any locks, add the relevant properties first.
- Create properties based on the physical location of locks. For example, create one property per office or building. All locks in a property must share the same timezone.
Add a Property
Go to Properties and click Add Property
Enter the property name, then search for the address or city. Click Next
Search for and select the locks to associate, then click Save
- For a brand new organisation with no paired locks yet, skip the lock association step. You can add locks later via Edit Property.
Edit a Property
Click View Property → Edit Property
Update the name or location, then click Next
Click Edit List to add or remove associated locks, then click Update
- A property's address cannot be changed to one in a different timezone.
- A lock cannot be removed from a property if it is only associated with that one property.
Delete a Property
Properties can only be deleted if they are empty (no associated locks).
6.4 Maps
The Maps page shows the location of all properties in your organisation that were added.
Click a numbered cluster to zoom in and separate individual property pins
Click a drop pin to select a property
Click the property name to navigate to its detail page
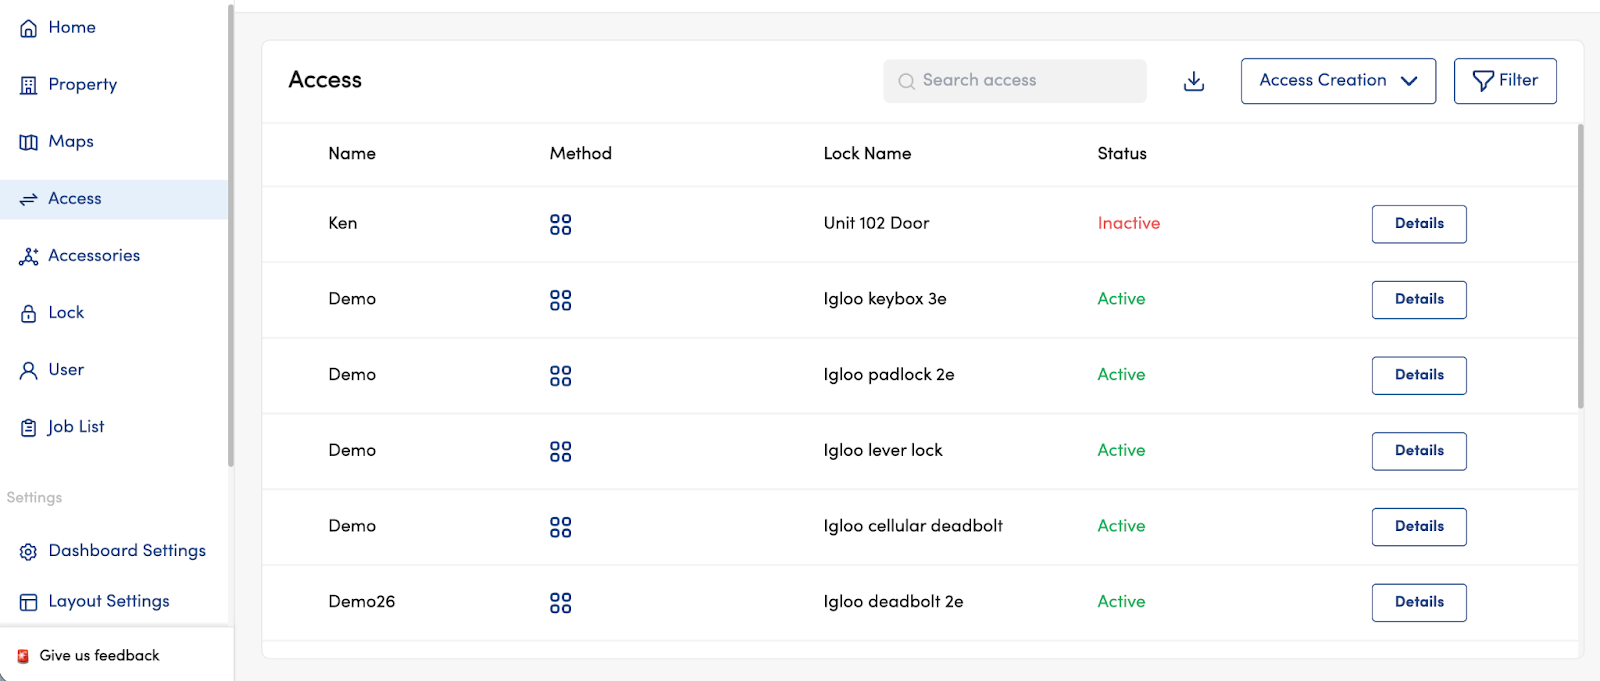
6.5 Access
The Access page shows all access credentials across your entire organisation. Use it to create, view, edit, and delete access for any lock. Use the filter to manage accesses.
Understanding Access Types
- For temporary guest access, use AlgoPIN (no user account required). For recurring access with a memorable code, use Custom PIN. For regular on-site staff who need app access, use Bluetooth Key.
Create Access: Remote PIN (AlgoPIN)
Go to Access and click Add Access
Select PIN Code → Next
Select the access type (One-time / Duration / Permanent) and Generate PIN remotely as the method
Select the Department* and fill in the access details. Click Create
Optionally click Share to send the PIN by email or SMS (up to 10 email recipients)
- Note: * Department selection does not appear for Flat Organisation accounts.
- PIN start time cannot be in the past and must be within 14 days from now. The PIN must be used within 24 hours of the start time.
Create Access: Custom PIN (via Bluetooth)
Go to Access and click Add Access
Select PIN Code → Next
Select the access type and Customise PIN as the method. Select the Department* and enter your chosen PIN digits. Click Create
Go to the Job List to confirm the job is Pending
Use the iglooworks app within Bluetooth range of the lock and tap Sync to push the PIN
- Note: * Department selection does not appear for Flat Organisation accounts.
- The lock must belong to only one department to create a Custom PIN. Once a Custom PIN exists for a lock, the lock cannot be added to another department.
Create Access: Custom PIN (via Bridge)
Go to Access and click Add Access
Select PIN Code → Next
Select the access type and Customise PIN via Bridge as the method. Select the Department* and enter the PIN details. Click Create
Wait at least 5 seconds, then refresh the page to confirm the PIN is active in the access list
- Note: * Department selection does not appear for Flat Organisation accounts.
- Bridge jobs may take longer during periods of high concurrent access creation.
Create Access: Bluetooth Key
Go to Access and click Add Access
Select Bluetooth Key → Next
Select the Department*, lock users, permissions (Unlock / Sync / Firmware Update), and access dates. Click Create
The lock user receives an email notification and will see the key in their iglooworks app.
- Note: * Department selection does not appear for Flat Organisation accounts.
- Owners, Admins, and Managers already have Bluetooth access by default. It is not necessary to create keys for them.
- Lock users must be invited to the department before Bluetooth access can be created for them.
Create Access: 2FA Access
Go to Access and click Add Access
Select 2FA → Next
Select the Department*, fill in the access details, and click Create
- Note: * Department selection does not appear for Flat Organisation accounts.
- 2FA access only appears if the lock is an NB-IoT 2FA-enabled model. All 2FA users must have a verified mobile number.
Create Multiple Bluetooth Key Access (Bulk)
To create Bluetooth keys for multiple locks at once:
Go to Access and click Bluetooth access via csv
Download the CSV template, complete it, then upload the file and click Create
An email report will be sent to you once processing is complete
- Use the README tab in the CSV template for formatting instructions.
- Large bulk creations may take longer to process. Do not resubmit if results have not yet arrived by email.
Edit Access
Remote PIN: Cannot be edited. Delete and recreate as needed.
Custom PIN: Cannot be edited. Delete and recreate as needed.
Bluetooth Key: Only the end date/time can be edited, if the access has not yet expired.
2FA Access: Only the end date/time can be edited, if the access has not yet expired.
To edit Bluetooth or 2FA access: click Details on the access item → Edit → make changes → Save.
Delete Access
Remote / Custom PIN (via Bluetooth): Click Details → Delete → Yes. A delete job is created. Sync the lock via the app to complete the deletion.
Remote / Custom PIN (via Bridge): Click Details → Delete → Delete PIN via Bridge. Wait ~5 seconds, then refresh to confirm.
Bluetooth Key: Click Details → Delete → Yes. Deleted immediately.
2FA Access: Click Details → Delete → Yes. Deleted immediately.
6.6 Accessories
The Accessories page displays all accessories (Bridge devices, Keypads, and Keyfobs) linked to locks in your organisation.

View Bridge-related information
From the accessories page, click Details
View bridge connectivity details, as well as bridge job details
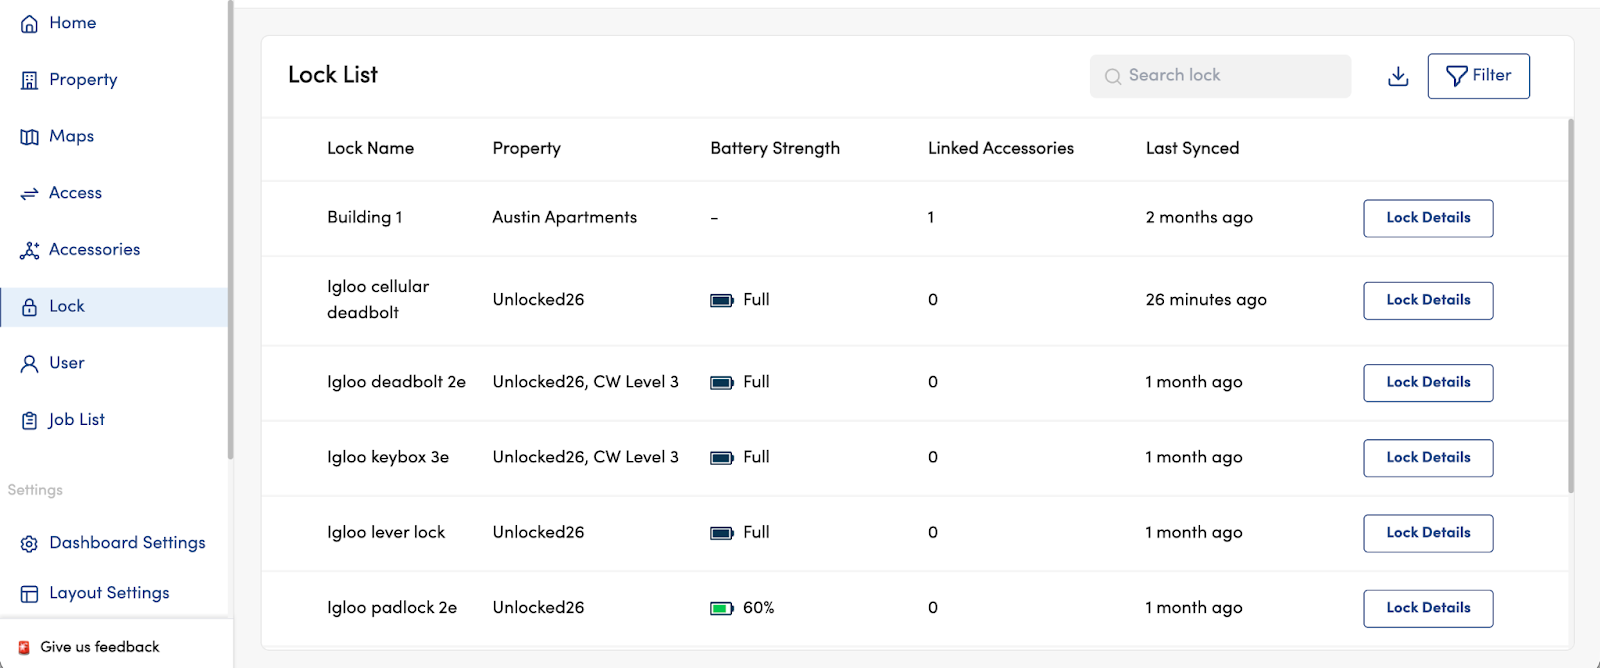
6.7 Lock List
The Lock List shows all locks paired to your organisation, including battery strength, linked accessories, and last sync time.
Click Details on any lock to view its full information, activity logs, and associated access credentials.
Edit a Lock Name
Click Lock Details → Edit beside the Lock Name
Enter the new name and click Save
Edit Activity Log / Heartbeat Intervals (INB1 locks only)
On the lock details page, click the edit icon next to the Activity Log Interval
Select the new interval (1 min / 10 mins / 30 mins / 1–24 hours) and click Save
Repeat for Heartbeat Interval (options: 1 / 2 / 5 / 12 / 24 hours)
- Changes take effect on the next heartbeat. Heartbeat transmission syncs logs, pending jobs, battery status, signal strength, carrier, and channel info. Activity log transmission syncs logs only.
View Activity Logs
Click Lock Details to view and download the activity logs.
Lock, Unlock, or Sync a Lock via Bridge
From the lock detail page, click Lock, Unlock, or Sync to trigger a Bridge job for each action.
- These buttons are only available if the lock is linked to a Bridge and the Bridge is currently online.
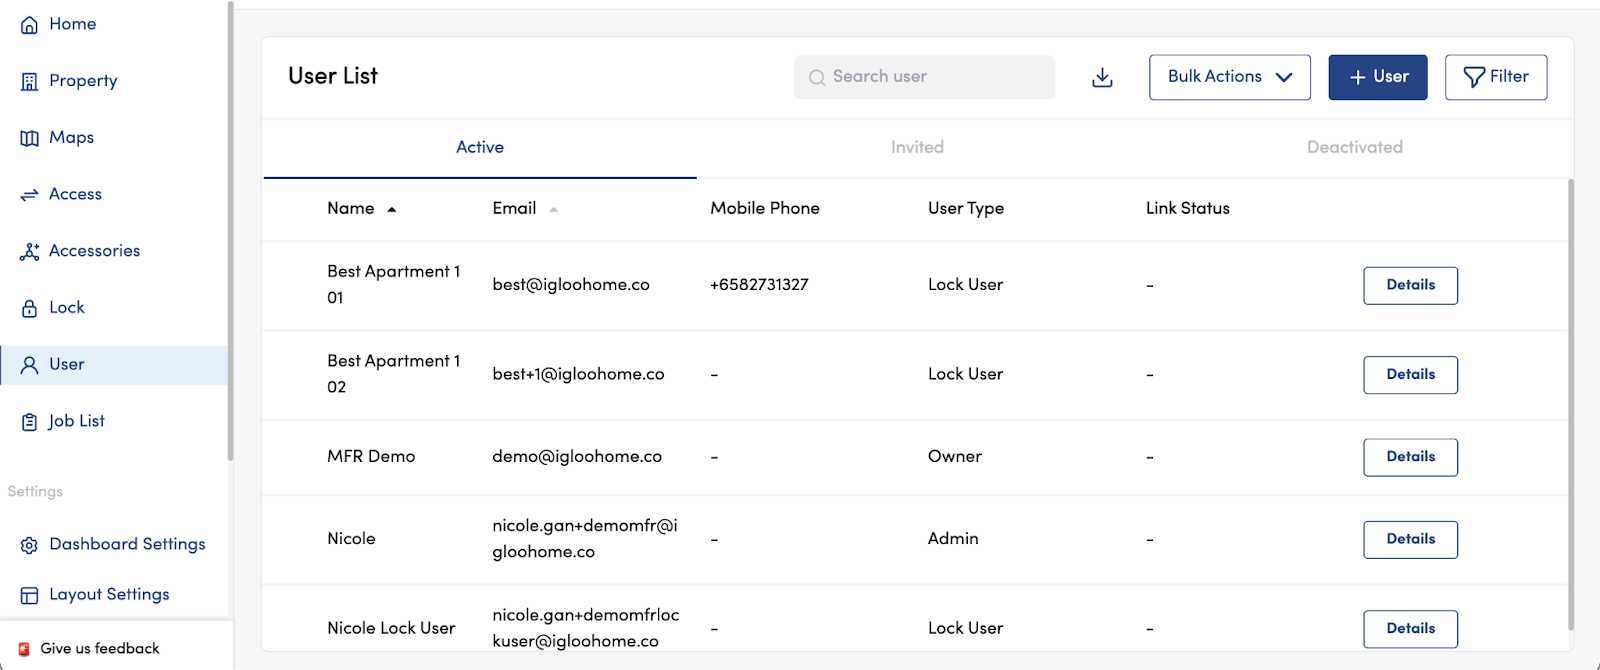
6.8 Users
The Users page is where Owners and Admins manage all organisation users: Admins, Managers, and Lock Users.
Add a User
Go to Users and click Add User
Select the user type (Admin / Manager / Lock User), enter their name and contact details, then click Next
The user receives an invitation email or SMS with a link to set their password
- Invitation links expire after 24 hours. If a user misses the deadline, resend the invitation from their profile in the Invited tab.
- Managers cannot log in to the dashboard until a department has been assigned to them.
- Bluetooth access can be granted to a user before they accept their invitation.
Bulk User Creation
Click Create Multiple Users
Download the CSV template and complete it following the README instructions
Upload the completed CSV and click Create
An email report is sent once processing is complete, including a breakdown of successful and failed entries
Managing Invitations
Go to the Invited tab in Users to see all pending invitations.
To cancel: Click View User → Cancel Invite → Yes
To resend: Click View User → Resend Invite
Edit a User
Click View User → Edit
Update the user type, name, or mobile number as needed, then click Save
- When an Admin is switched to Manager, they lose access to all departments until reassigned.
- When a Manager is switched to Admin, they gain access to all departments automatically.
- If a 2FA user's phone number is changed, they cannot access locks until the new number is verified.
Deactivate a User
Deactivating a user removes their dashboard and app access and deletes all their Bluetooth keys. Any PINs they previously had access to will still work until expired or deleted.
Click View User → Deactivate → Yes
Reactivate a User
Go to the Deactivated tab in Users
Click View User → Reactivate → Yes
- All previously created Bluetooth access must be re-created after reactivation.
User Batch Replication
Copies a lock user's Bluetooth access across multiple locks to other selected users.
Click Replicate Access on the lock users list page
Search for and select the source lock user (whose access you want to copy from)
Select the departments containing the target locks
Select up to 50 destination lock users
Click Replicate Access
- Destination lock users must already be added to the selected departments before running replication.
6.9 Job List
Jobs are Bluetooth actions queued on the dashboard and synced to a lock via the iglooworks app. They are created when you create or delete a Custom PIN.

Pending: Waiting to be pushed to the lock
Completed: Successfully synced to the lock
Failed: Could not be completed (e.g., lock was hard reset)
- If a job fails due to Bluetooth or internet connectivity issues, it stays in Pending, not Failed.
Who Can Push Jobs
Owners and Admins: all jobs for all locks
Managers: jobs for locks in their assigned departments only
Push a Job
Open the iglooworks app within Bluetooth range of the lock and tap Sync. Pending jobs are pushed automatically during sync.
Delete a Job
Click Jobs List → Delete next to the job → Yes
Retry a Failed Job
Go to the Failed tab → click Recreate Job to move it back to Pending
- A job can only be recreated once. If you use the Recreate Job, the Delete option on the access list will be greyed out, and vice versa.
Here's a downloadable version: